
So Chris had seen a recipe for a giant Twix bar online and was desperate to have one (bang goes the diet!) We were having friends round for the day on Sunday so I decided that was the perfect time to try it. At least that way there was a chance that we wouldn't eat too much of it ourselves.
Saturday I had a read through the recipe and it didn't look too difficult, I made a note of what I needed and head off to the shops.
I returned home, armed with the goodies and started to set up.

What will you need?:
2x 200g chocolate
1 x bag of toffees
1x packet of shortbread fingers
Microwave safe bowls
Greaseproof paper
Wooden spoon
Dessert spoon
Knife or spatula
Loaf tin
Step 1:
The girls were keen to help so I set them up unwrapping toffees and breaking the chocolate bars into pieces and placing them into separate microwaveable bowls.
Whilst they did this I lined the loaf tin with the greaseproof baking paper, leaving a little excess hanging over each side.
Step 2:
Melt the chocolate in the microwave, just one of the bars to start with (you'll need the other one later)
Once melted pour a thick layer into the loaf tine, making a 1cm thick base. Pop this in the freezer to chill.

 |
| Emily enjoyed carefully spreading the chocolate layer out but a good tap on the worktop would do the trick! |
Step 3:
Meanwhile melt one bag of toffees in another microwaveable bowl, these melted very quickly so keep a close eye on them!
 |
| I did a few at a time to start to see how they would go. |
Here we were a little unsure of how the toffee would reset, would it go really hard again? Not wanting to break our teeth on it we made a slight adjustment to the recipe, We heated 1x can of condensed milk in a pan over a low heat, stirring continuously until it thickened, we added a small knob of butter and then the melted toffees. Purely experimental at this stage and we were really unsure as to whether this would ruin it!

However it seemed to be working.
Step 4:
Retrieve the loaf tin from the freezer and add a thick layer of the toffee mixture (CAUTION VERY HOT!)
Make a 1cm layer using this mixture and then you need to add a row of shortbread fingers.

Pour on another layer of toffee mixture, just over the biscuits this time and add a second layer of shortbread fingers. Then return to the freezer for 10 minutes.

Step 5:
Once cooled you need to cover this with the second bar of melted chocolate, making sure it goes down the edges and covering all the biscuits. You will need to retain some of this chocolate for later. Now leave it in the fridge.


Step 6:
Leave to cool for several hours then its time for the truth! It's time to turn out the bar.
Will it have set?
Has the toffee/caramel mixture worked?
Turn the loaf tin upside down on the worktop and give it a few hard taps, Using the overlapping greaseproof paper you will be able to ease the bar out of the tin. Then peel off the paper.
Hurray it had set perfectly!!!!!

Step 7:
Stand the bar on top of two small pots or glasses and upon a plate/board. As you can see from the photo the sides needed tidying up so that the layers weren't visible.
Using the remaining melted chocolate and a knife/spatula carefully cover the edges and the top until all the layers are covered.

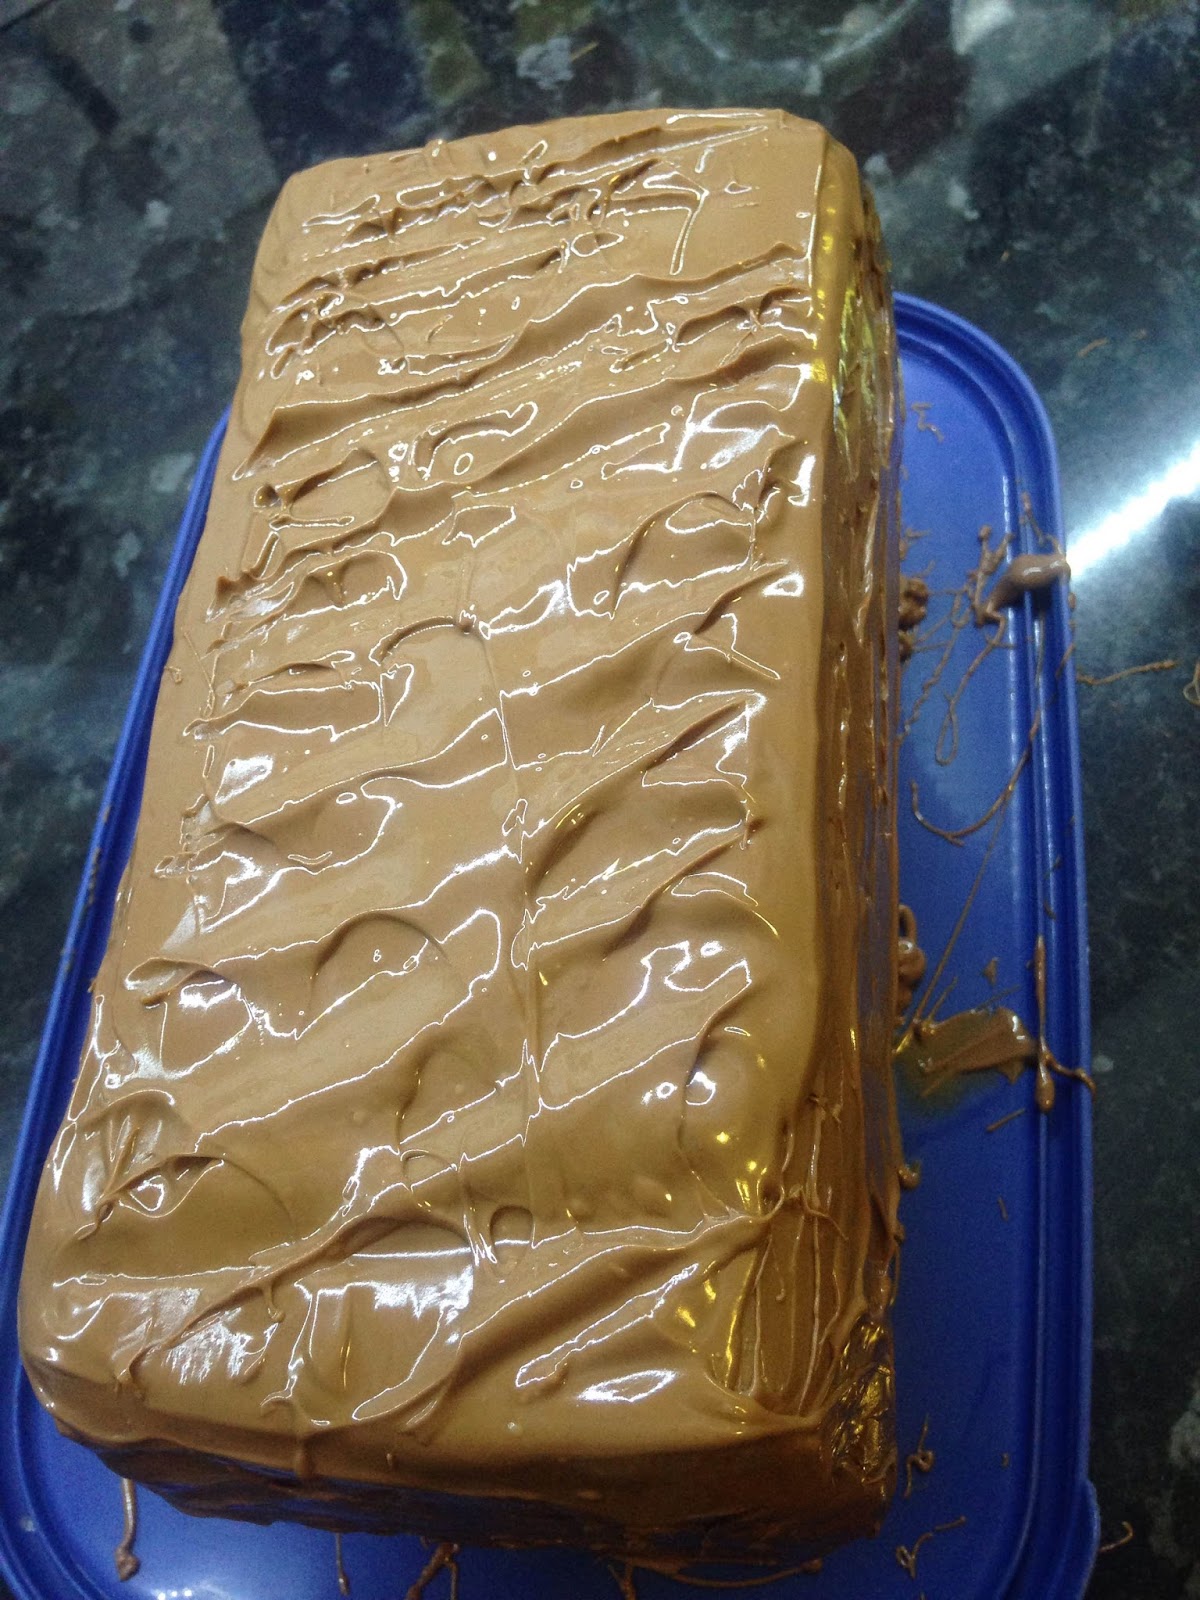
Then return this to the fridge for at least 30 minutes.
Step 8:
Once the chocolate has hardened it is ready to serve.
We tried to cut it straight out of the fridge and it was very difficult to cut so best to take it out for a while beforehand.

Finally ENJOY!!!!!
The Verdict:
Everyone really enjoyed the Giant Twix, the girls thought its was great fun and it went down a treat. Quite sickly as its so sweet and obviously very, very naughty! (Not to be eaten often!)
Our adaptation for the toffee layer worked really well and instead of being too hard it had a great fudge texture to it.
Price wise it worked out to be around £6-£7 so not too bad really.
Would I make it again? I think so, it was enjoyed by all and not difficult to make.
So, give it a try and we would love to know what you though!
Enjoy
Jaimexx
No comments:
Post a Comment